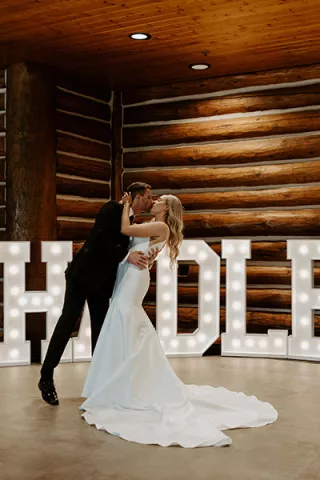
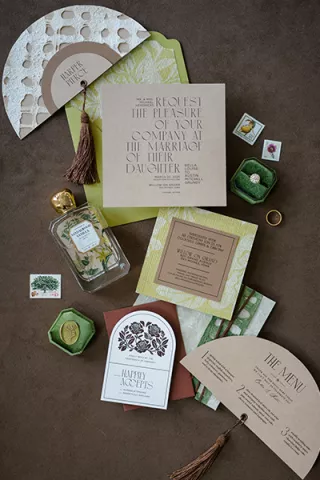
One wedding trend that has always made my heart swoon is signage. Signs, be they informative or directional, are easy ways to provide a cohesive look throughout different spaces, from your ceremony to your reception, while also being functional! They are a great and affordable way to customize any space too. Bonus points: they can often be used again as home décor or sold to another bride-to-be.
While there are many extremely talented hand-lettering artists available to bring your vision to life, this was one DIY project that I knew I could tackle. I have always loved the wooden sign trend that is now splashed all over Pinterest - it can provide an earthy softness to an elegant design or easily add a rustic touch to any area. I wanted to use our signage as a way to bring in an outdoor element to ground our garden theme. In order to match the overall traditional look and glam touches, I have been drawn to a gorgeous dark stain on the wooden signs and mixing/layering them with mirrored ones.
While there are so many do-it-yourself tutorials on creating any type of sign for your big day, I wanted to share my steps and helpful tips I learned while creating these pieces:
- Decide on the number of signs you will need and what they will be used for. Some of the ways we are using signage includes: welcome signs to the ceremony and reception, table numbers, directing guests to sign our guestbook, to share our social media information, our bar menu, memory table quotes and more! Once you have decided on what you need, now is the time to figure out the dimensions for each piece.
- Gather your materials. Once I knew the sizes that I needed each sign to be, I measured out how to best cut down one large sheet of plywood to get the most out of each piece. Most home improvement stores should happily be able to cut down large wood pieces to the size you like, so for one low price you can end up with many pieces in the exact dimensions you need! For the mirrors, I had such a fun time attending antique shows and scouring vintage shops with my mom to find large mirrors at an affordable price – once you spray paint the frames gold they look brand new! I also needed a dark wood stain, acrylic paint, small paint brushes and a chalk marker for writing on glass.
- Prep your signs. This meant a quick sanding and three coats of stain for the dark espresso brown look I wanted the wood to have. After taping off and spray painting all the mirror frames, I also made sure to give a thorough cleaning to all the glass surfaces to ensure an smooth application of the paint pen.
- Transfer designs. This is probably my number one tip when creating any “freehanded” signage – don’t freehand it! A trick I learned was to make my design (you can use anything from word to Photoshop) and then project it onto the piece to be painted. Viola! A perfect outline that you can use to simply paint inside the lines to achieve a professional look. You do not need a super fancy projector for this project either. I purchased a simple one for less than $50 and have used it for more craft projects than I can count by now – it is such a time saver too!
- Paint away. On a dark wood stain it usually took me one good base coat of white paint for my designs, with one to two more touch up coats after I let each layer dry completely. When using the marker on the mirrored glass, I would either only use one coat, or make sure to let it completely dry before going back in to touchup larger areas.
- Admire your work and keep creating away! The possibilities are endless for all easy ways you can now relay messages and information to your guests.
images via Pinterest


